In July 2022 I was trying to find a keyboard that I would like. I’d been using a Corsair K70 RGB Rapidfire for the previous couple of years, but I was so tired of inadvertently “ulting” or triggering keys while gaming. The Rapidfire runs Cherry MX Silver Speed switches which are linear and use a 1.2mm actuation at 45g which if you’ve been around switches at all is short and light. Typical actuation point is at 2mm. When typing this is a huge difference. When gaming I would frequently just brush over the key and trigger the keys. So after a lot of digging and thinking about what I wanted I finally decided I wanted to give a TKL (Ten Keyless) style keyboard. More specifically, I wanted to keep some of my arrow key layouts but I really wanted something compact. The problem is I am so used to having a 10 key for work that I was afraid to give it a chance. I pulled the trigger and ordered a Razer Blackwidow v3 Mini Hyperspeed running the Razer Green switches (a tactile switch w/ 1.9mm actuation at 50g). I already use Hyperspeed tech (Razer’s proprietary high speed polling wireless tech for their mice and keyboards) in a Razer Basilisk X Hyperspeed so this was something I am familiar with and have been very happy with.
This wasn’t enough for me though. I got to talking to friends of mine throughout various discords. I found that I’m less happy with the tactile feedback of the Razer Greens and instead decided I wanted to see about building a custom keyboard. After a lot of research and a lot of thinking I decided I wanted to learn the intricacies of the custom keyboard world. This is the rabbit hole. This is the never ending rabbit hole I dove head first into. Can I say I’m upset by it? Absolutely not!
They say that part of learning a new skill is the failures. Without failing you never learn. I spent hours on this first design. More hours than I can remember. My first thought was, “man this is cool”. And then I printed the first piece. That’s all I printed of the design before totally scrapping it.


I spun up a new design of a 65% using just Costar stabilizers and Cherry switch mounting. This one was designed to allow me to learn how to wire keyboards and how to program an Arduino Pro Micro with QMK with a custom Layout. I spent hours delving into QMK’s documentation and was able to successfully compile the firmware, but never used this keyboard. It is sitting in my office with no keycaps as a reminder of where I came from on design.
These keycaps have been moved temporarily to the final version of this keyboard while I wait for some custom keycaps to come in for my newest version of this keyboard, but this will sit in my personal collection and may get used occasionally.


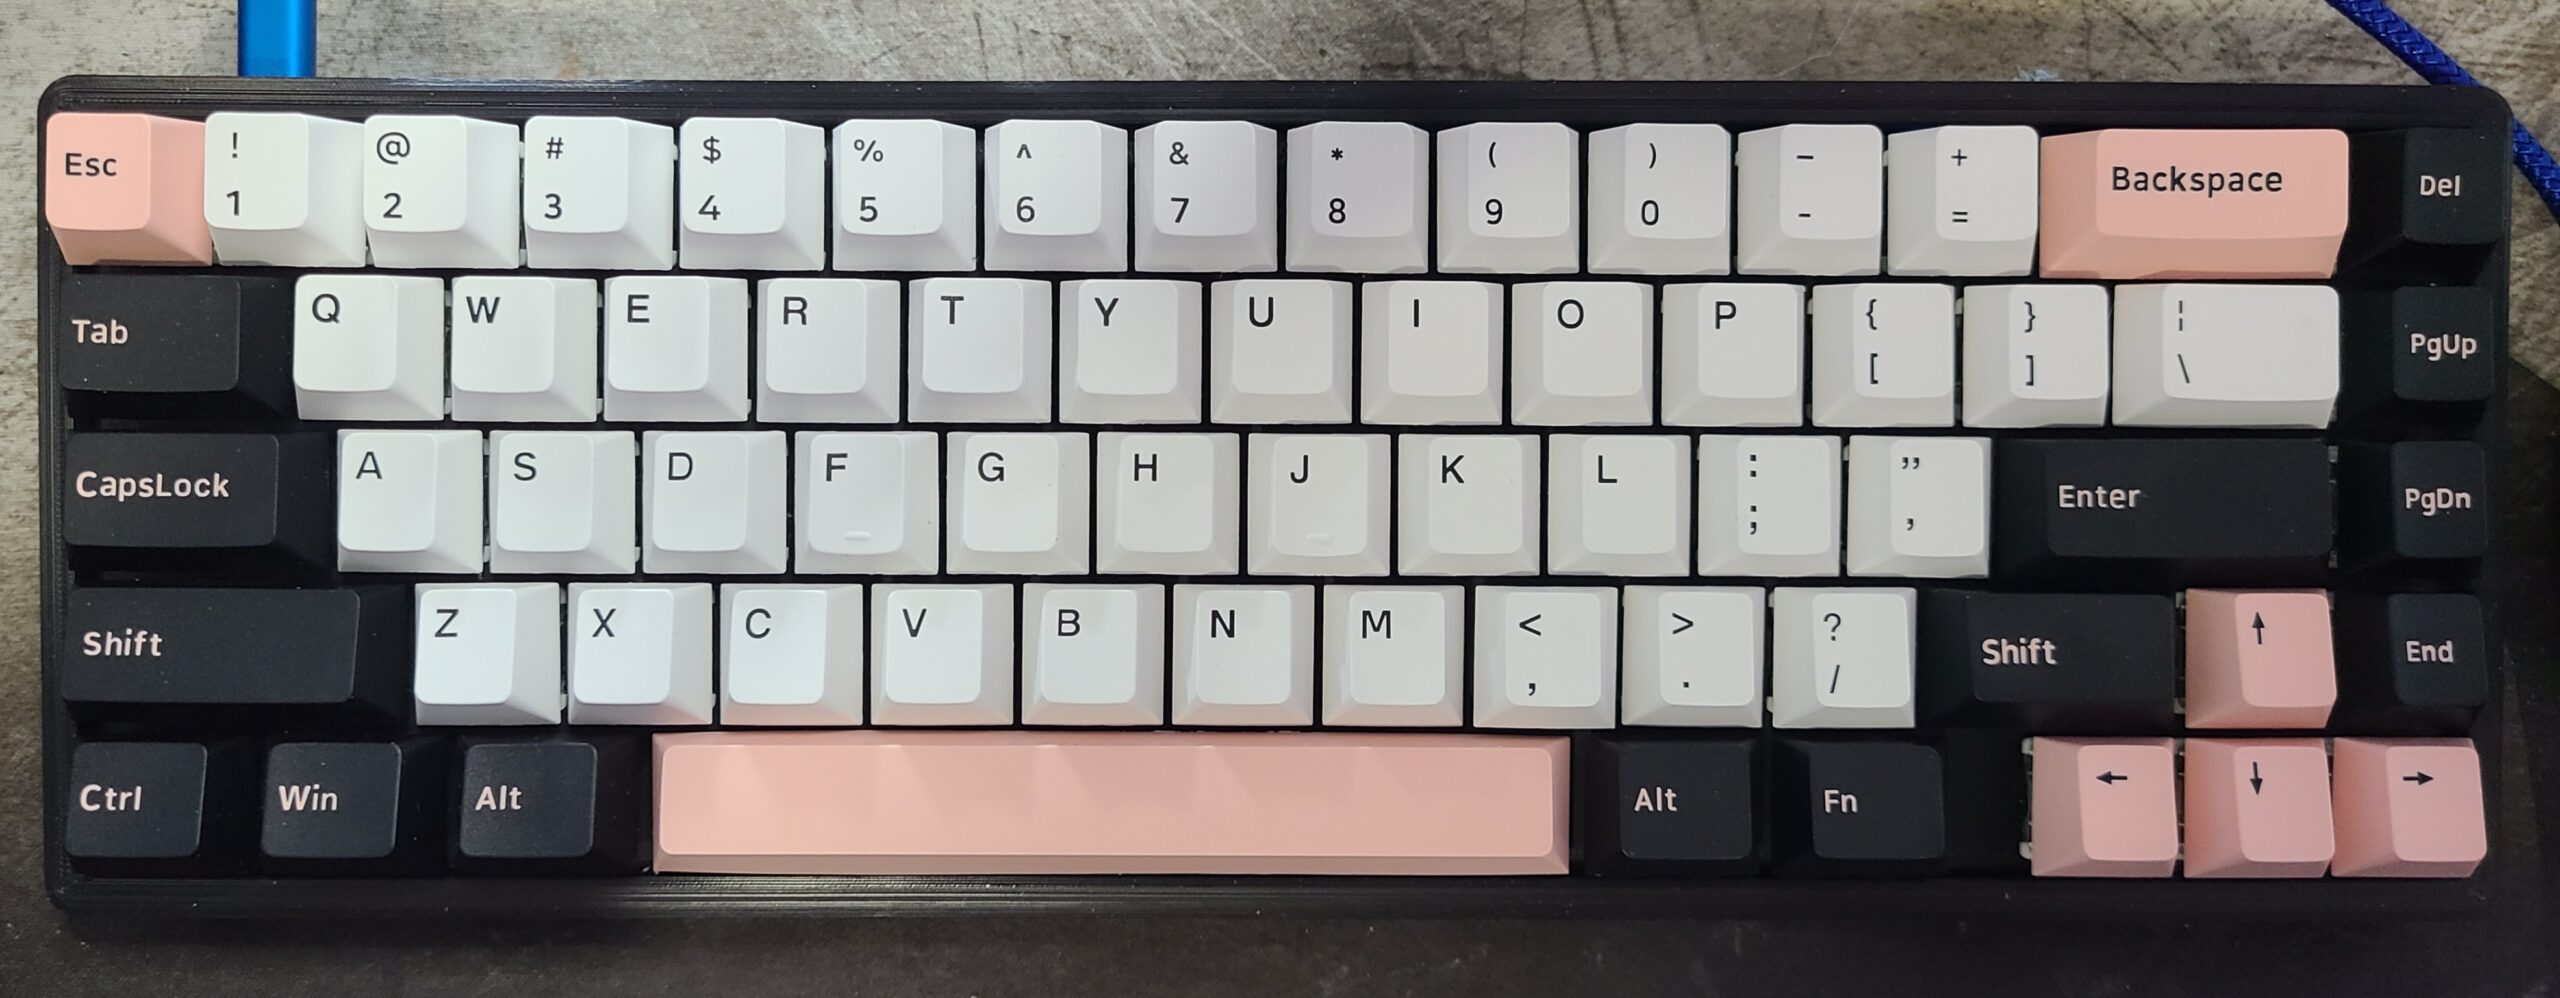
After some trial and error, and design modification to fit a particular PCB from KBDFans I came up with this design. I’m still refining it as I don’t particularly care for the RGB on this PCB as it’s down facing so I don’t get much RGB visible under the keyboard. I’ve got a new one selected and making the tweaks needed for it.
I agonized over which switches to go with, in the end I personally went with Gateron Pro 2.0 Yellow linear switches. These have a 2mm actuation at 50g and have a beautiful thocky sound. Overall I’m very happy with how this design turned out and how the keyboard sounds and feels.

If you’re interested in getting one of these 65% keyboards send me a DM on Twitter at the link below.
Message @vaemods